
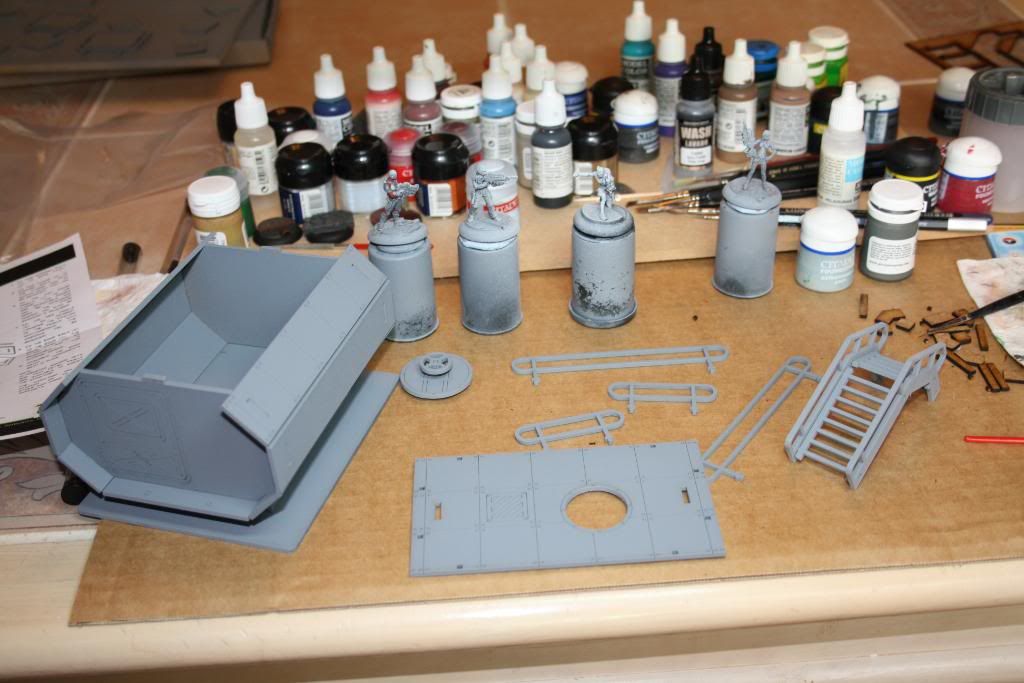
Hi. Martin over at Fire Broadside kindly commented on the Sarissa building post. He quite rightly pointed out that some variance in colours would help break up the uniformity of the panels and this is already something I have planned for then next building. This first building was a quick test of how well the material would stand up to painting etc. Martin also asked about the salt mask weathering method I had used. Luckily I had taken some work in progress pictures of the process so here is a quick tutorial. I can't take any credit for anythign in here as this method has been used for years by military modellers and railway modellers and more recently by firms like Forgeworld and Mig to get realistic weathering effects easily.
1. Undercoat your model making sure you get a good smooth finish
2. Paint in areas of brown and rust colours like Vallejo Hull Red and Games Workshop Vermin Brown, you are aiming for a patchy variation in colouring everywhere that you want to be weathered. Think carefully before you do this about where and why some areas would be worn and others not, to get the most realistic effect. Alternatively for a chipped effect you could paint this colour as a different older paint coat that has been painted over and now is chipped and revealed. Unfortunately this picture didn't come out well so I will insert a new one in here when I do the next building.
3. Wait until thoroughly dry. Then apply a coat of normal aerosol hairspray over the areas you have just painted. Whilst this is wet (it doesn't stay wet long so do all your prep first) sprinkle normal table salt over these areas. This coating of salt is what will be removed later so ensure you have the right coverage for the effect you are going for - are you trying for minor paint chipping or large areas of weathered surface ?
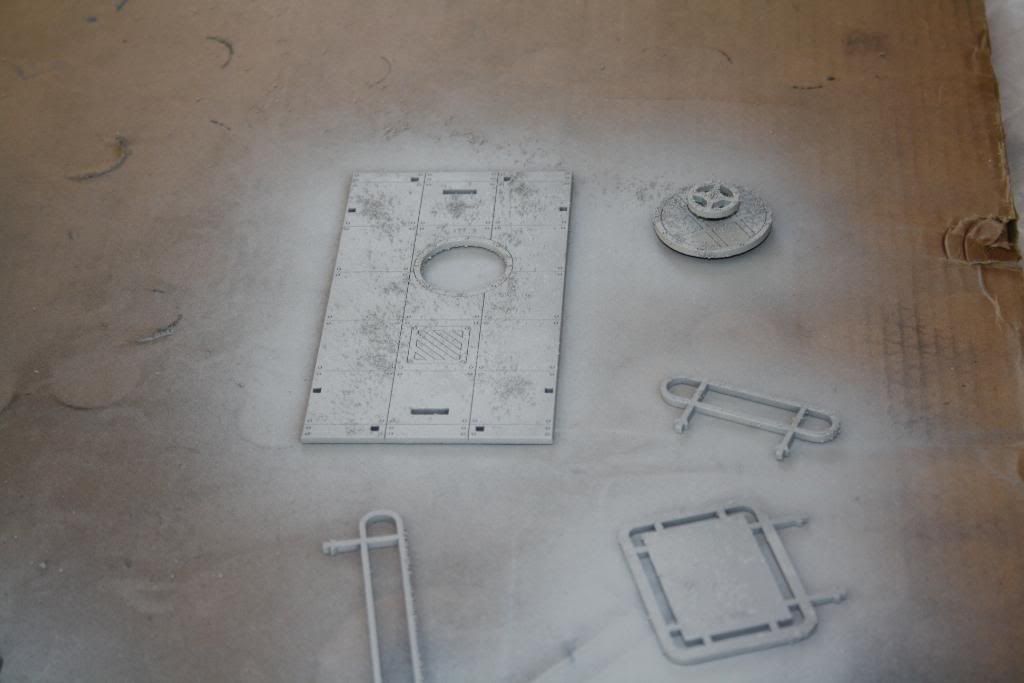
4. When this has dried properly, spray your top coat colour of paint, ensure you get a good even coverage and do not soak the areas that have been salt masked. I find it best to aim for one even coat rather then several thin coats and definitely not one heavy thick coat ! In the pictures below you can clearly see all the rough textured areas where the salt is.

5. Finally wait for the paint to completely dry. If you do this stage too soon you risk washing all your new paint off. When dry wet a large, soft brush and rub away gently at all the raised areas of salt. As the water penetrates it will dissolve the hairspray and the salt will come away revealing the paint colour below with a random edge and give the effect of paint being chipped and weathered. Make sure you get all the salt off as otherwise you end up with a strange rough texture to the surface that ruins the effect.
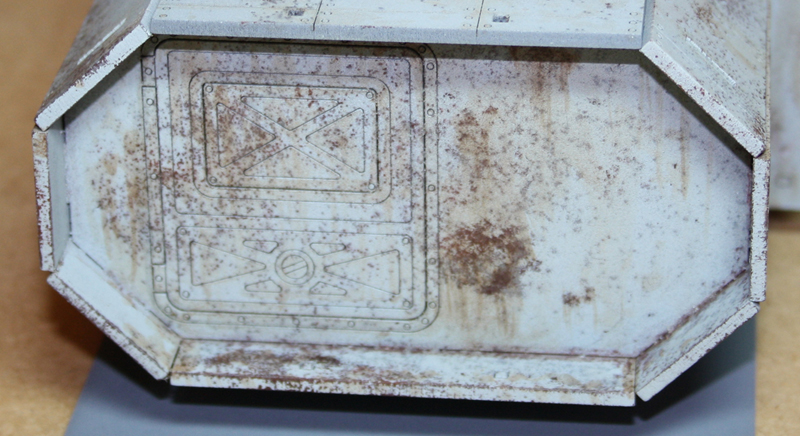

To finish the whole process you can add streaks of inks and weathering powders and a slight highlight to the bottom edge of every chip (very time consuming) but well worth the effort. This final stage gives the chips a 3D effect and makes them really pop out.
Hope this helps and as always if you have any questions or comments please reply !
Nice tutorial. I was considering weathering my Pods a bit, but I'm not so sure now. I'm all of a quandary. I think I'll just fly by the seat of my pants and see how it goes. Are you going to do anything else with these, or are you leaving them as is?
ReplyDeleteHI, I'm definitely doing more ! This was just a quick test to show that the HDF is easy to work with and holds the paints well. I wanted some weathering on mine - but not so much that they look like a Mad Max junk yard. I'm not settled on finished colour yet and I will certainly add more colour variation on the next ones. Interestingly now I have built my second one the door is much better cut and looks like it will take the black lining better - I think the first one had a slightly defective cut door on both ends.
DeleteNow to decide on the proper colour scheme !
This is interesting! A more organic kind of masking. I've been using Maskol for this but I could see occasions where this might give a better result. I'll give this a go next time I paint something old and rusty.
ReplyDeleteThanks! :)
Hi Martin - I have tried a Maskol type stuff in the past. I found it came off in very rounded sort of blobby pieces ? Maybe I was using it wrong but it just didn't look right to me. The Salt mask method creates smaller chips (but you can still scrub large areas off if you want) and I think looks a bit more realistic. Have you got any pictures of your MAskol weathering ?
ReplyDeleteCheers
GD
I only did a couple of test pieces when I lived in Tokyo and they didn't make the move back to Sweden. But it worked fine for me, although it's tricky to get it to look entirely natural.
ReplyDeletePerhaps a hybrid approach would work; first use maskol to mask off the large areas you want rusty and then a salt mask around it to get all the smaller dents and flakes. Hmmm...