Showing posts with label Airbrush. Show all posts

Friday, 20 January 2012

Salt Mask Weathering Tutorial

Hi. Martin over at Fire Broadside kindly commented on the Sarissa building post. He quite rightly pointed out that some variance in colours would help break up the uniformity of the panels and this is already something I have planned for then next building. This first building was a quick test of how well the material would stand up to painting etc. Martin also asked about the salt mask weathering method I had used. Luckily I had taken some work in progress pictures of the process so here is a quick tutorial. I can't take any credit for anythign in here as this method has been used for years by military modellers and railway modellers and more recently by firms like Forgeworld and Mig to get realistic weathering effects easily.


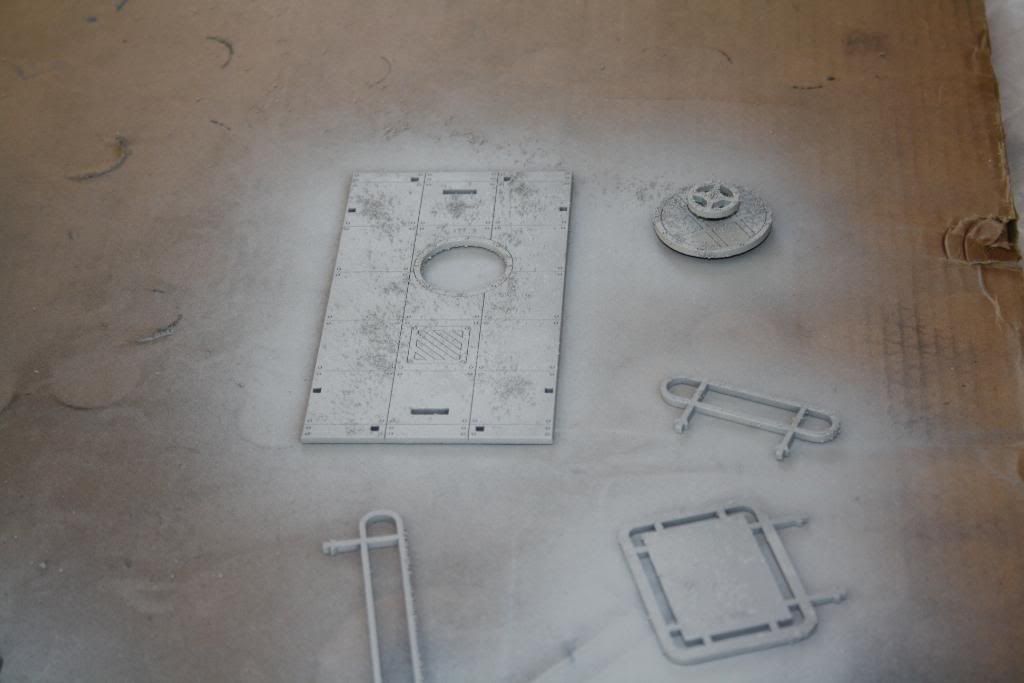
1. Undercoat your model making sure you get a good smooth finish
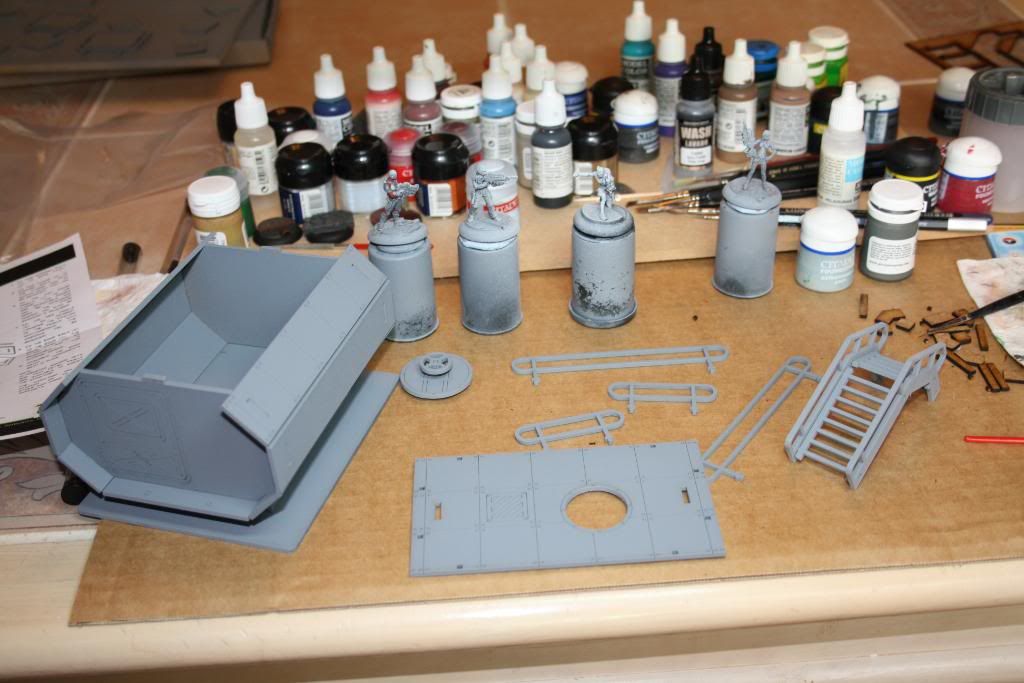


2. Paint in areas of brown and rust colours like Vallejo Hull Red and Games Workshop Vermin Brown, you are aiming for a patchy variation in colouring everywhere that you want to be weathered. Think carefully before you do this about where and why some areas would be worn and others not, to get the most realistic effect. Alternatively for a chipped effect you could paint this colour as a different older paint coat that has been painted over and now is chipped and revealed. Unfortunately this picture didn't come out well so I will insert a new one in here when I do the next building.

3. Wait until thoroughly dry. Then apply a coat of normal aerosol hairspray over the areas you have just painted. Whilst this is wet (it doesn't stay wet long so do all your prep first) sprinkle normal table salt over these areas. This coating of salt is what will be removed later so ensure you have the right coverage for the effect you are going for - are you trying for minor paint chipping or large areas of weathered surface ?

4. When this has dried properly, spray your top coat colour of paint, ensure you get a good even coverage and do not soak the areas that have been salt masked. I find it best to aim for one even coat rather then several thin coats and definitely not one heavy thick coat ! In the pictures below you can clearly see all the rough textured areas where the salt is.


5. Finally wait for the paint to completely dry. If you do this stage too soon you risk washing all your new paint off. When dry wet a large, soft brush and rub away gently at all the raised areas of salt. As the water penetrates it will dissolve the hairspray and the salt will come away revealing the paint colour below with a random edge and give the effect of paint being chipped and weathered. Make sure you get all the salt off as otherwise you end up with a strange rough texture to the surface that ruins the effect.
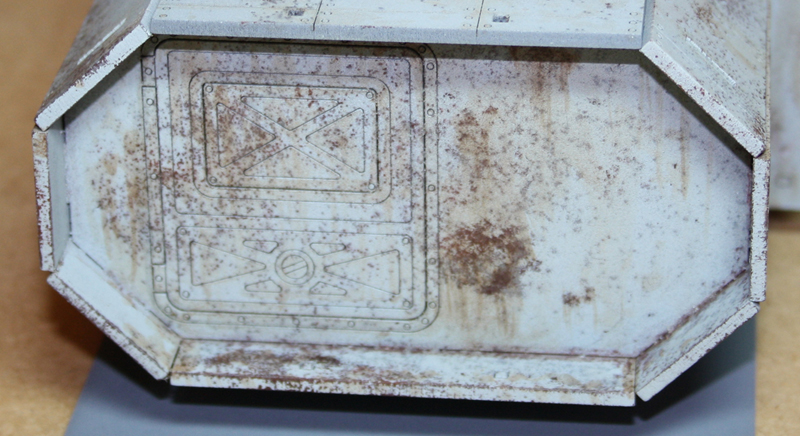


To finish the whole process you can add streaks of inks and weathering powders and a slight highlight to the bottom edge of every chip (very time consuming) but well worth the effort. This final stage gives the chips a 3D effect and makes them really pop out.

Hope this helps and as always if you have any questions or comments please reply !


Thursday, 19 January 2012

Sarissa Precision System Infinity Terrain

     The Frontline Gamer recently revealed to the world over Christmas the new scenery from Sarissa Precision. This is HDF laser cut Sci Fi terrain suitable for just about any system -  but especially Infinity. The modularity of  the System stuff really appealed and so did the look of it, I'm not really sure it will fit with the Infinity board I am  creating from scratch out of Foamed PVC but at the very worse I will have two different boards to game on ! As soon as it was released I put in an order for some trial pieces and some of their Western themed buildings for a Malifaux table as well (more about that another day). Delivery was quick and I was really impressed with the level of detail laser etched in to every piece. They went together so easily they almost built themselves. There had been some discussion on the Infinity forum about HDF / MDF soaking up paint. I wasn't convinced so as a test I took the smallest building, I assembled it, undercoated it once with my standard grey Halfords spray primer, waited till it was dry, added some weathering details, hairspray and salt masked, airbrushed with Vallejo Air grey and then finally scrubbed in water. I have added a few highlight chips in places. The entire work was done in the space of a day with lots of spare time in-between. I think I could easily have finished a table full of buildings to this standard in the course of a single day (that would be an interesting trial to carry out Steve if you are reading this !).
     I can say this did not soak up any of the undercoat, it dried to a perfect smooth finish, none of the detail is obscured and it hasn't degraded in any way at all from the washing and salting treatment it got. I've decided to add some pictures - including some extreme close ups for people to see the effects themselves. Please excuse any mistakes you find, it isn't yet finished and was a trial piece.
     The only issue I have is the laser etching is so very fine - but deep, it was very difficult for me to black line details like the doors, ideally I would them to pop out more and not look as 2D from distance. I am still working on some ideas so may come back to this later.

Front view showing detachable ladder


Side view - at the bottom you can see the struts they sit on - these fit into holes on the roofs of larger buildings allowing you to stack any way you want. What a good idea !


Back view - the front's and backs are identical -allowing me to slip out the back when the enemy comes knocking at the front.


Here you can see where the detail around the door and panel lines doesn't pop out enough from a distance. It is there as the close ups will show but is fine detailing.


Close up of the ladder - these are modular detachable and cool !


Front detail of the door area, the surface of the HDF took weathering powders, inks, hairspray and salt really well and I think looks realistically weathered enough for wargaming terrain.


     Hope this helps anyone thinking of buying the System Terrain, Sarissa Precision seem very easy to deal with and nice people and have a number of new pieces on the way. Any questions just ask !